Search This Blog

5/29/2013

Shady Characters

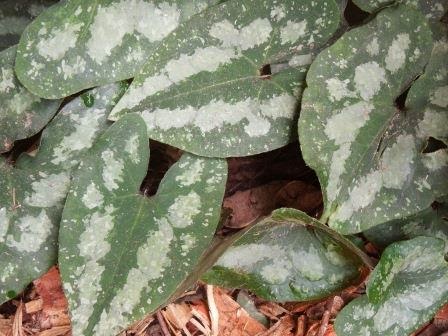
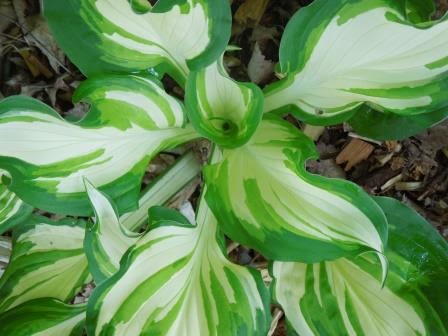
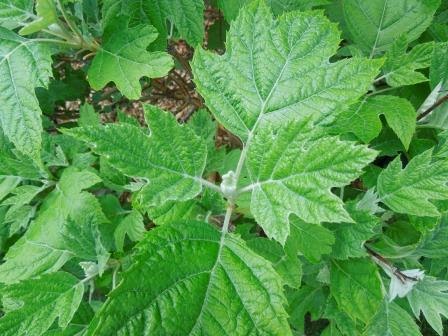
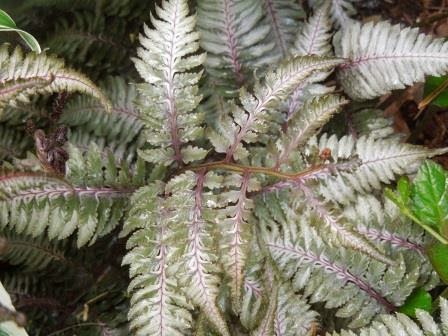
When I first started gardening, I carefully planned gardens in the sunniest location on my property, filling these areas to overflowing with blossoms. Then, over the years, I moved to new houses that required gardens in shaded sites. Although originally frustrated that I couldn't achieve the same showy displays, I ultimately discovered that there was something appealing about gardening in the shade. Magical things happened when plants were placed under the protection of a large tree canopy
Shade prevents the soil from drying out.
Weeds are easier to control.
 Many shade plants are perennial; spread easily; and require less attention each year .
Brilliant greens stand out in the lower light.
White leaves "glow in the dark".
Glossy leaves shimmer.
Leaf textures and shapes add interest and tactile pleasure.
Subtle colors stand out, even without blossoms.
Yellow leaves radiate their own sunlight.
I've come to appreciate the subtle beauty of shade gardens. If you're just beginning to explore shade gardening, Carolyn Harstad's Got Shade and Larry Hodgson's Making the Most of Shade are excellent resources. 

5/24/2013

Mulch Tree Base with Minimal Digging

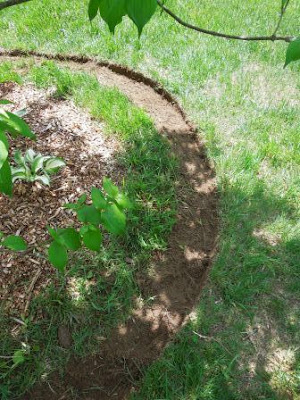
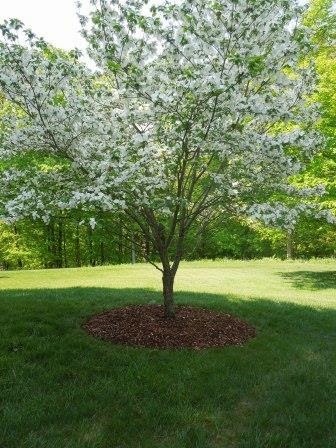
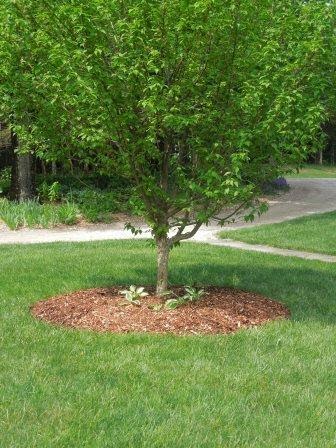
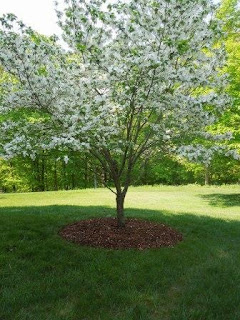
After
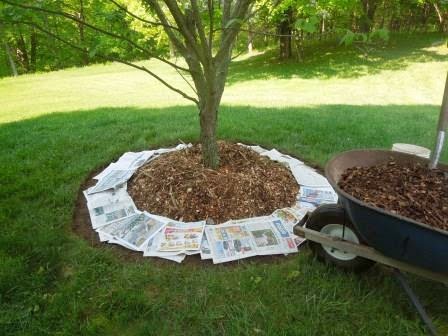
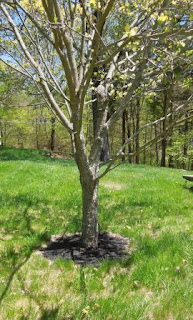
Before

We planted three small trees on our property 8 years ago, placing recycled tire mats around each base. Over the years we have cut away more and more of the mats' centers as the trunks' diameters have grown, and then finally removed the mats altogether.

This year we decided to enlarge all the mulch "skirts", providing protection; enabling easier mowing; and improving their appearance. Since each of the trees: dogwood, witch hazel, and Japanese maple, have roots growing close to the surface, it was important to avoid disturbing the roots. I used a modified version of the minimal digging edging technique I use for large perennial border gardens, in order to protect the root systems.

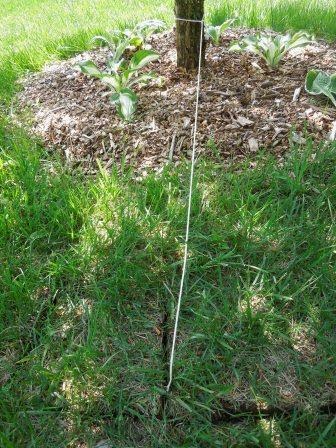
1.  I tied a string loosely around the trunk of the trees to mark the edging line.


2.  I used an edging shovel to cut a large circle in the sod around the circumference of the new skirt.  I made a second cut a shovel's width in from the end of the string.  (When I was digging down, I was very aware of the roots and avoided cutting roots that gave resistance.)  I then dug a line to connect the two circumference cuts, so it gave the appearance of a railroad track.
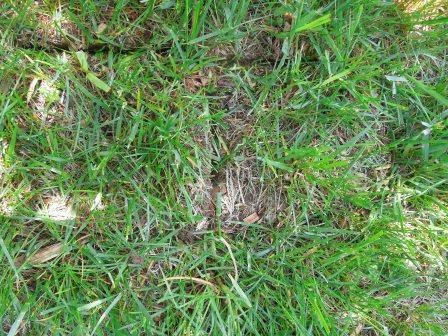
3.  I removed the sod with a hand held fork (cultivator), being careful to avoid damaging the roots.
(I was not able to cut as deeply into the ground as I would for a typical garden edge.)

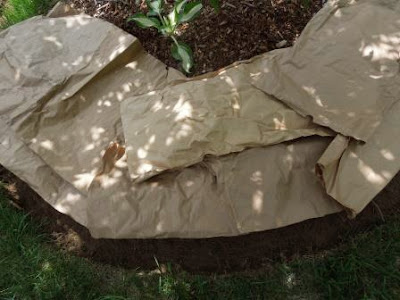
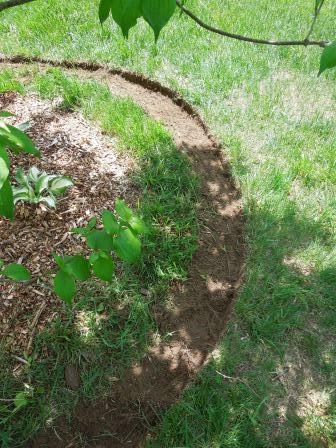
4.  I pushed back the chips and covered the remaining sod with recycled thick brown paper...
or multiple layers of newspaper.

5. Then, added 3" - 4" of mulch to cover the paper and the bare soil.
The paper will kill the grass while it decomposes--saving me hours of digging. By covering, rather than pulling up, the inner sod, I avoid disturbing many small roots. The grass will be gone and the paper barely recognizable by next year. The mulch will protect the tree from mowers and weed-wacker; help keep the soil moist; keep weeds at bay; and look more proportionality appropriate under the larger trees.


5/04/2013

The Colors of Spring


Though there have been few April showers this year, the May flowers are plentiful. If you look closely, there are already dozens of flowers suitable for   pressing to preserve their beauty.

After hunting in my gardens for a few minutes, my flower press was overflowing with a variety of ground cover flowers, tree blossoms, freshly emerging leaves, and delicate perennials. 

Once the flowers have had a month to dry, we'll let them inspire us. 


Flower Art

Create art using a palette 

of dried flowers.

June 5th    

7:00 - 8:30 P.M.

at the Pawling Library, 

Pawling, NY


  Registration is required: 845-855-3444


Other posts on flower pressing:

3/01/2013

Soil Blocks...Let the Gardening Begin

Although the outside weather merely hints at the milder days ahead, indoor conditions are ideal to begin planting. The long winter wait has come to an end and I can finally rub soil between my fingers again. It's time to plant the first seeds of the season.

Soil blocks are a great medium for starting seeds under grow lights in the basement.  When transplanted into the outdoor garden, tender new roots do not have to struggle past barriers (as with compost-able pots or pellet netting), or become damaged (when removed from plastic pots).

 Eliot Coleman suggests this soil block starter mix in The New Organic Grower: 
3 (10 quart) buckets of coco peat
2 buckets of perlite 
1 bucket of garden soil 
2 buckets of compost 
1 cup each of blood meal 
1 cup of colloidal phosphate
1 cup of greensand 
½ cup of lime
Mix thoroughly.

* I substitute coco peat for peat moss as a sustainable option.

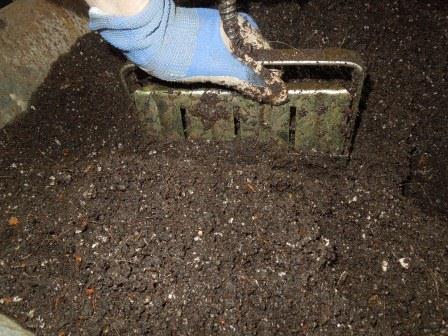
By shaking the soil and compost through a screen, large clumps, rocks, sticks, and pits are removed. 


The large pieces would inhibit a young seedling's ability to emerge from the soil.

Screened ingredients should be thoroughly mixed with a shovel. A wheel barrel makes an effective "mixing bowl".

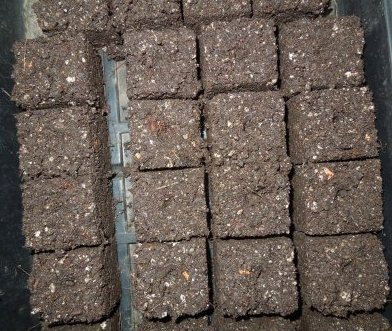
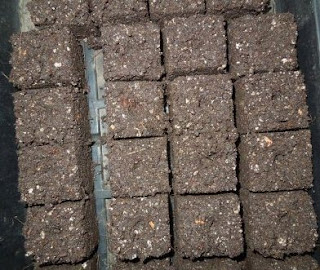
Moistening the mix makes pressing the soil into compressed cubes easier.
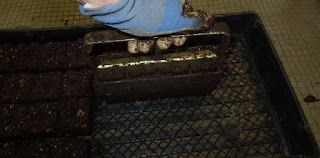
The soil block's spring mechanism releases the "pot-less" containers.
A small indentation on the top of each block awaits its seed.
Watching seedlings emerge from the blocks is the closest I can currently get to gardening while I wait for the snow to melt away, and the soil dry out--to become "workable".

2/17/2013

Making Maple Syrup - Boil & Bottle

Today was boiling day (perhaps not the best choice with temps in the 20's).  
I spent the day adding wood to the fire and sap to the pot.
I maintained one open pot at a rolling boil and in a separate feeding pot, I heated the cold sap from the storage buckets.
Maggie kept me company.
The sap boiled down...slowly....
Once the sap was close to the correct temperature (boiling temperature plus 7 degrees--in Pawling 219 degrees), the final boiling was done inside where the heat was easier to control.
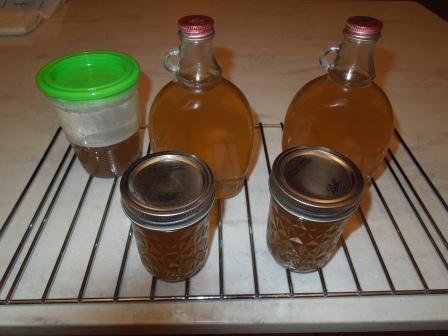
Eight layers of cheesecloth filter out solid particles. 
Boiling water sterilized the jars and bottles.
The taste?
Worth the effort!
Previous posts on Making Maple Syrup:


2/16/2013

Making Maple Syrup - Day 5

Sap nearly fills the bucket daily.


Thanks to my local deli and pizzeria, large food grade buckets help me collect and store sap.

Taking advantage of Nemo's bounty, the sap filled buckets are snow packed to keep them cold on warm days, until the sap can be boiled into syrup.   


Previous maple syrup post: Tap Tap Tap - Making Maple Syrup 

2/12/2013

Tap Tap Tap - Making Maple Syrup

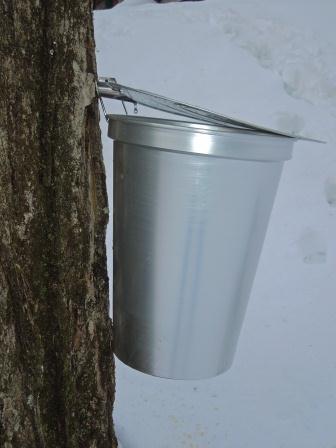
A friend of mine gave me a maple syrup starter kit as a gift over the holidays. Since receiving the kit, I read about the process, watched YouTube videos, and impatiently waited for the weather forecasts to predict daytime temps in the forties and nighttime temps in the twenties for an extended period. These conditions finally arrived this week, so I trekked out through the snow to insert my shiny metal spouts into three maples surrounding my house. The buckets now hang, collecting sap. I listen contentedly to the continuous dripping of the watery liquid.  
Mark the bit with a tape guide and drill a hole 2" into the trunk, 3' off the ground.
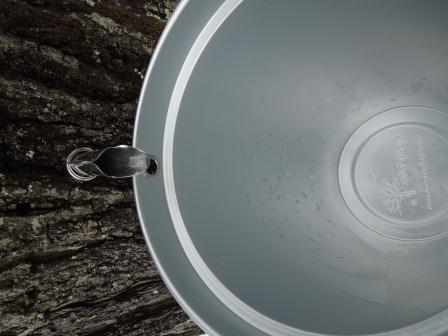
  Tap, tap, tap, the spout into the hole with a hammer and attach the bucket, capturing the flow.
The sap immediately begins to drip, as if  waiting to be released: "Tap, tap, tap." 
The cover protects the sap from foreign debris.
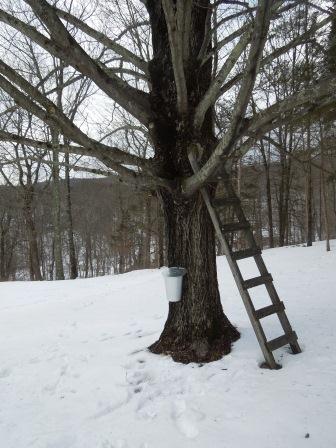
Our climbing tree now offers spring greenery, a summer perch, brilliant autumn color,
and sweet winter sap.  What more could we ask from our tree?


Tomorrow, I’ll set up an outdoor fire pit to boil the watery sap down into syrup; it will take at least forty gallons to produce one gallon of maple syrup. I'll keep you posted.

Resources   
Cornell Publication:   Maple Syrup Production for the Beginner


Maple Syrup Made Simple - Home Made Syrup