A friend of mine gave me a maple syrup starter kit as a gift over the holidays. Since receiving the kit, I read about the process, watched YouTube videos, and impatiently waited for the weather forecasts to predict daytime temps in the forties and nighttime
temps in the twenties for an extended period. These conditions finally
arrived this week, so I trekked out through the snow to insert my shiny metal spouts into
three maples surrounding my house. The
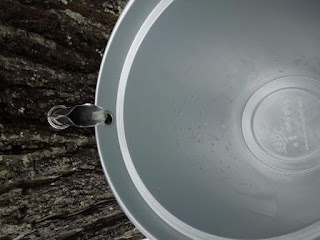
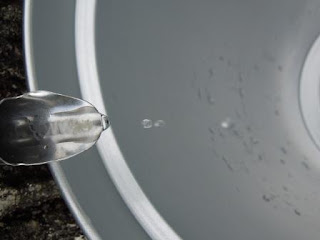
buckets now hang, collecting sap. I listen contentedly to the continuous dripping of the watery liquid.
 |
| Mark the bit with a tape guide and drill a hole 2" into the trunk, 3' off the ground. |
 |
| Tap, tap, tap, the spout into the hole with a hammer and attach the bucket, capturing the flow. |
 |
| The sap immediately begins to drip, as if waiting to be released: "Tap, tap, tap." |
 |
| The cover protects the sap from foreign debris. |
 |
Our climbing tree now offers spring greenery, a summer perch, brilliant autumn color,
and sweet winter sap. What more could we ask from our tree? |
Tomorrow, I’ll set up an outdoor fire pit to boil the watery sap down into syrup; it will take at least forty gallons to produce one gallon of maple syrup. I'll keep you posted.
Maple Syrup Made Simple - Home Made Syrup


No comments:
Post a Comment