
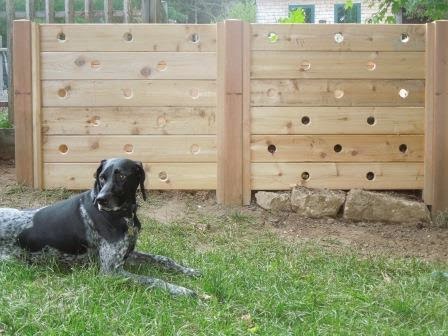
Compost is such an integral part of organic gardening; I consider it my garden's gold. After years of attempting to train our dog to stay out of the compost bin, we finally accepted that the temptation was too great and the bin too flimsy. It was time to make a bin that would prevent our dog from scattering food scraps in the yard and allow for a larger volume of material. We wanted an easy to construct, yet sturdy, bin that would allow for compost turning, last many years, and look attractive. We decided to build our bin out of cedar, using lumber dimensions substantial enough to ensure the bin could withstand a large volume of compost and persistent animals. The aeration holes would have to be small enough to discourage our dog from climbing the sides. We really wanted to get away from reaching over the sides of the compost bin to dig out the compost--it's really tough on the back, so we designed a system that would allow us to remove slats, thus offering easy access to all the layers of compost for turning and transferring.
With these materials:
- 126 feet of 6" x 5/4" cedar boards
- 30 feet of 4" x 4" cedar posts
- 42 feet of 2" x 3" cedar
- 42 - 2 1/2" inch stainless steal screws
- 108 - 2" stainless steal screws (optional)
We created the bin:
Now that our dog, Maggie, no longer spreads our food scraps all over the lawn, there should be more compost available to amend my garden soil next season.
 |
| Cut the 6" x 5/4" boards into 3' lengths (total of 42) Cut the 4" x 4" posts into 5' lengths (total of 6) Cut the 2" x 3" boards into 3' lengths (total of 14) |
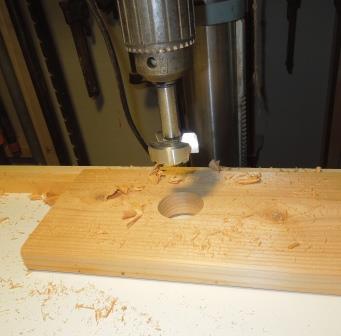 |
| Drill three 2" - 3" holes in half the 6" x 5/4" boards, and two holes in the remaining boards; offset the holes so that they do not line up. |
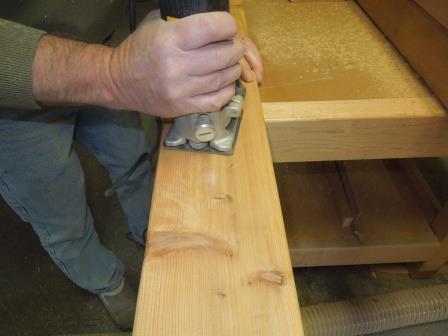 |
| Use a router to smooth the holes. (optional) |
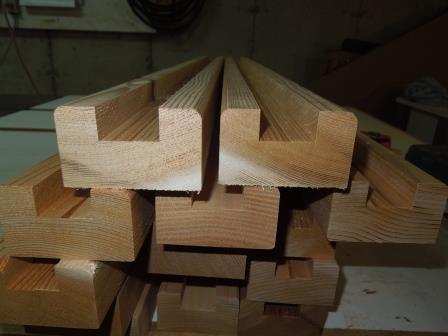 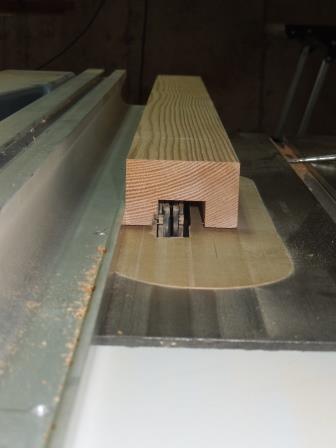 |
| Using a table saw, dado the 2' x 3" board to receive the horizontal boards, or slats. |
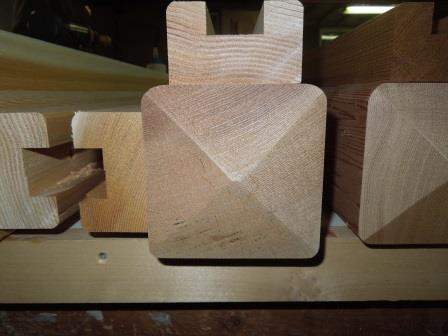 |
| Cut bevels to a point on the post tops to allow water to run off. (optional) Then glue and screw two - 2" x 3" boards to adjacent sides of four of the posts. |
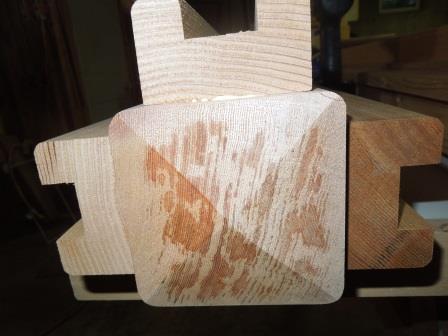 |
| Attach three of the 2"x 3" boards to the final two posts. |
 |
| Dig down 2' to position posts; when plumb, level and square, pour concrete into the holes. |
 |
| If you have conditions that make it difficult to assemble the bin on site, add pocket screws to the side panels to add support while you position the panels. (optional) |
 |
| Clamp together while the concrete dries. |
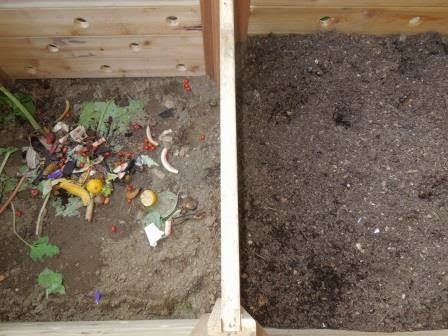 |
| Level the soil; slide in the remaining slats; and fill. Use one side for new food scraps, and the other for partially decomposed compost. |
 |
| Remove slats when it's time to turn the compost. |
Great idea and great picture!
ReplyDelete