|
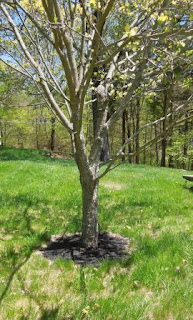
| After |
 |
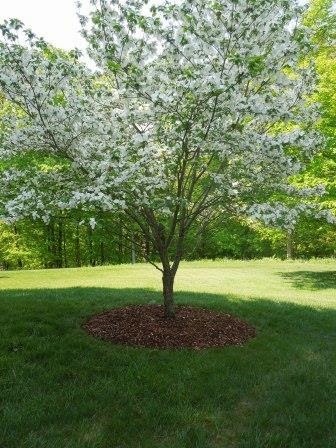
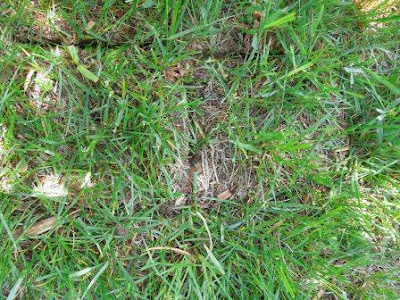
| Before |
We planted three small trees on our property 8 years ago, placing recycled tire mats around each base. Over the years we have cut away more and more of the mats' centers as the trunks' diameters have grown, and then finally removed the mats altogether.
This year we decided to enlarge all the mulch "skirts", providing protection; enabling easier mowing; and improving their appearance. Since each of the trees: dogwood, witch hazel, and Japanese maple, have roots growing close to the surface, it was important to avoid disturbing the roots. I used a modified version of the
minimal digging edging technique I use for large perennial border gardens, in order to protect the root systems.
 |
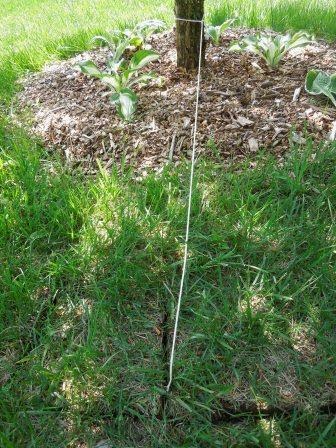
| 1. I tied a string loosely around the trunk of the trees to mark the edging line. |
|
| 2. I used an edging shovel to cut a large circle in the sod around the circumference of the new skirt. I made a second cut a shovel's width in from the end of the string. (When I was digging down, I was very aware of the roots and avoided cutting roots that gave resistance.) I then dug a line to connect the two circumference cuts, so it gave the appearance of a railroad track. |
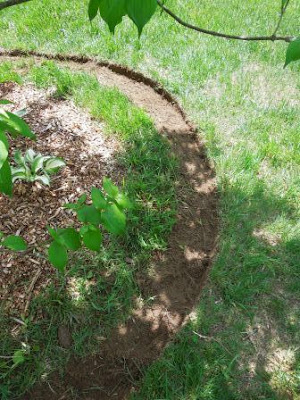 |
3. I removed the sod with a hand held fork (cultivator), being careful to avoid damaging the roots.
(I was not able to cut as deeply into the ground as I would for a typical garden edge.) |
 |
| 4. I pushed back the chips and covered the remaining sod with recycled thick brown paper... |
or multiple layers of newspaper.
 |
| 5. Then, added 3" - 4" of mulch to cover the paper and the bare soil. |
The paper will kill the grass while it decomposes--saving me hours of digging. By covering, rather than pulling up, the inner sod, I avoid disturbing many small roots. The grass will be gone and the paper barely recognizable by next year. The mulch will protect the tree from mowers and weed-wacker; help keep the soil moist; keep weeds at bay; and look more proportionality appropriate under the larger trees.