Construct a flower press using easily available materials and basic shop tools:
- 1/2" plywood
- absorbent white paper (construction or drawing)
- 4 long bolts
- 4 washers
- 4 wing nuts
- recycled corrugated cardboard.
(Using shop safety techniques will ensure injury free construction.)
 |
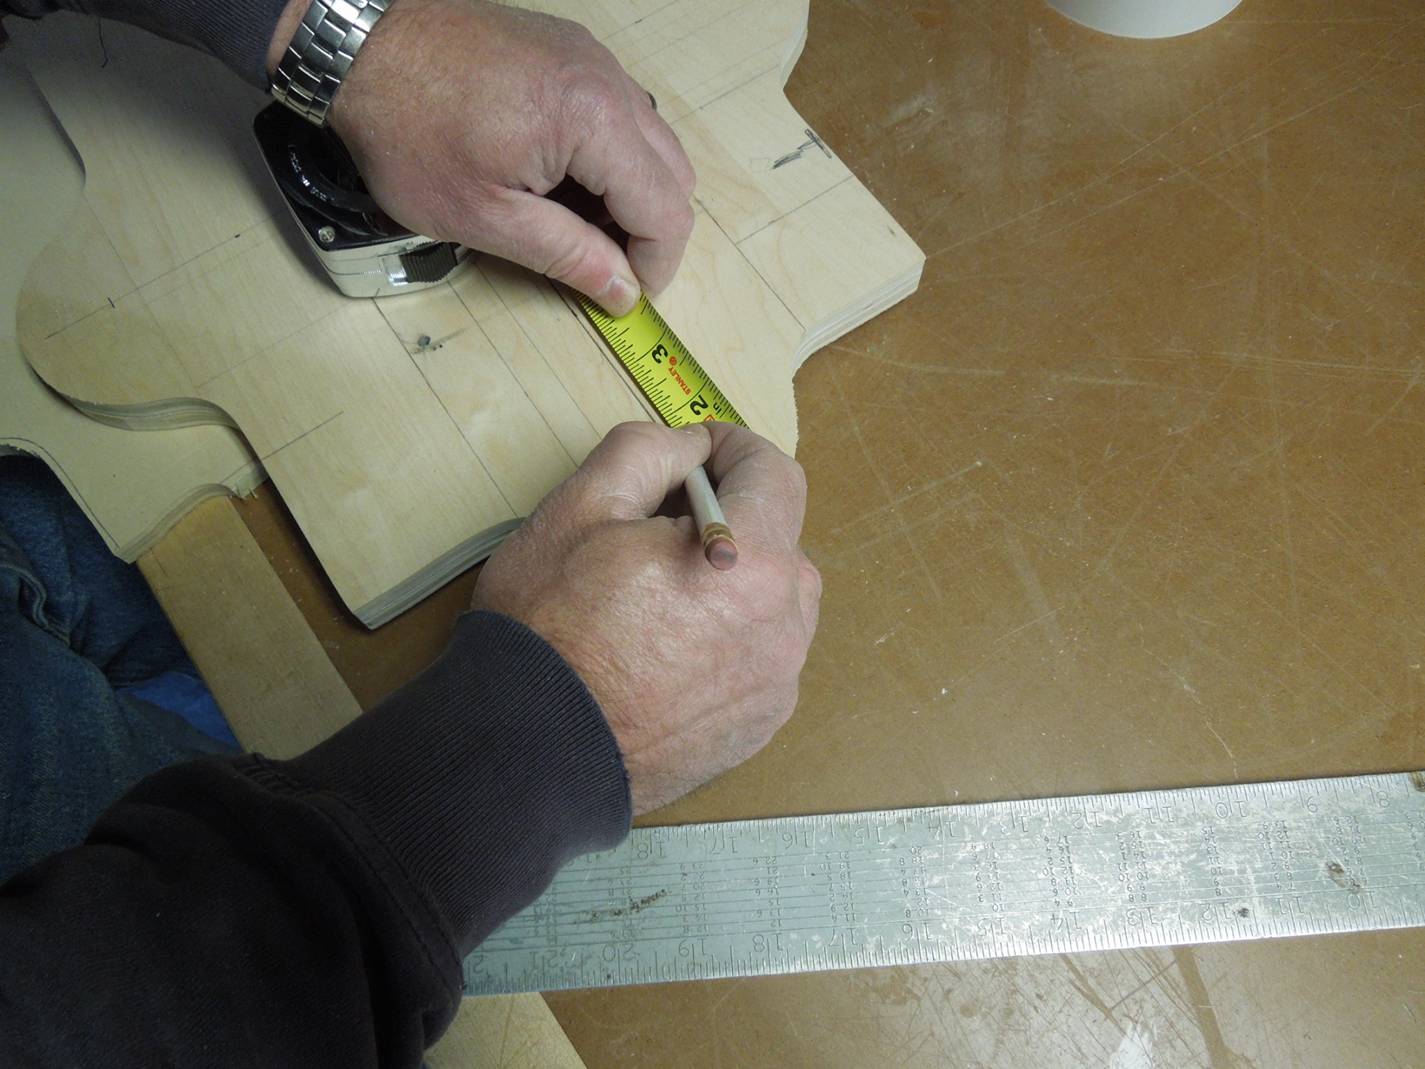
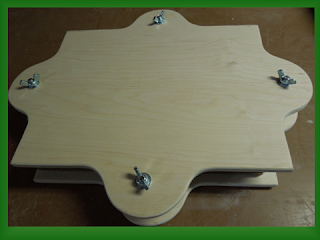
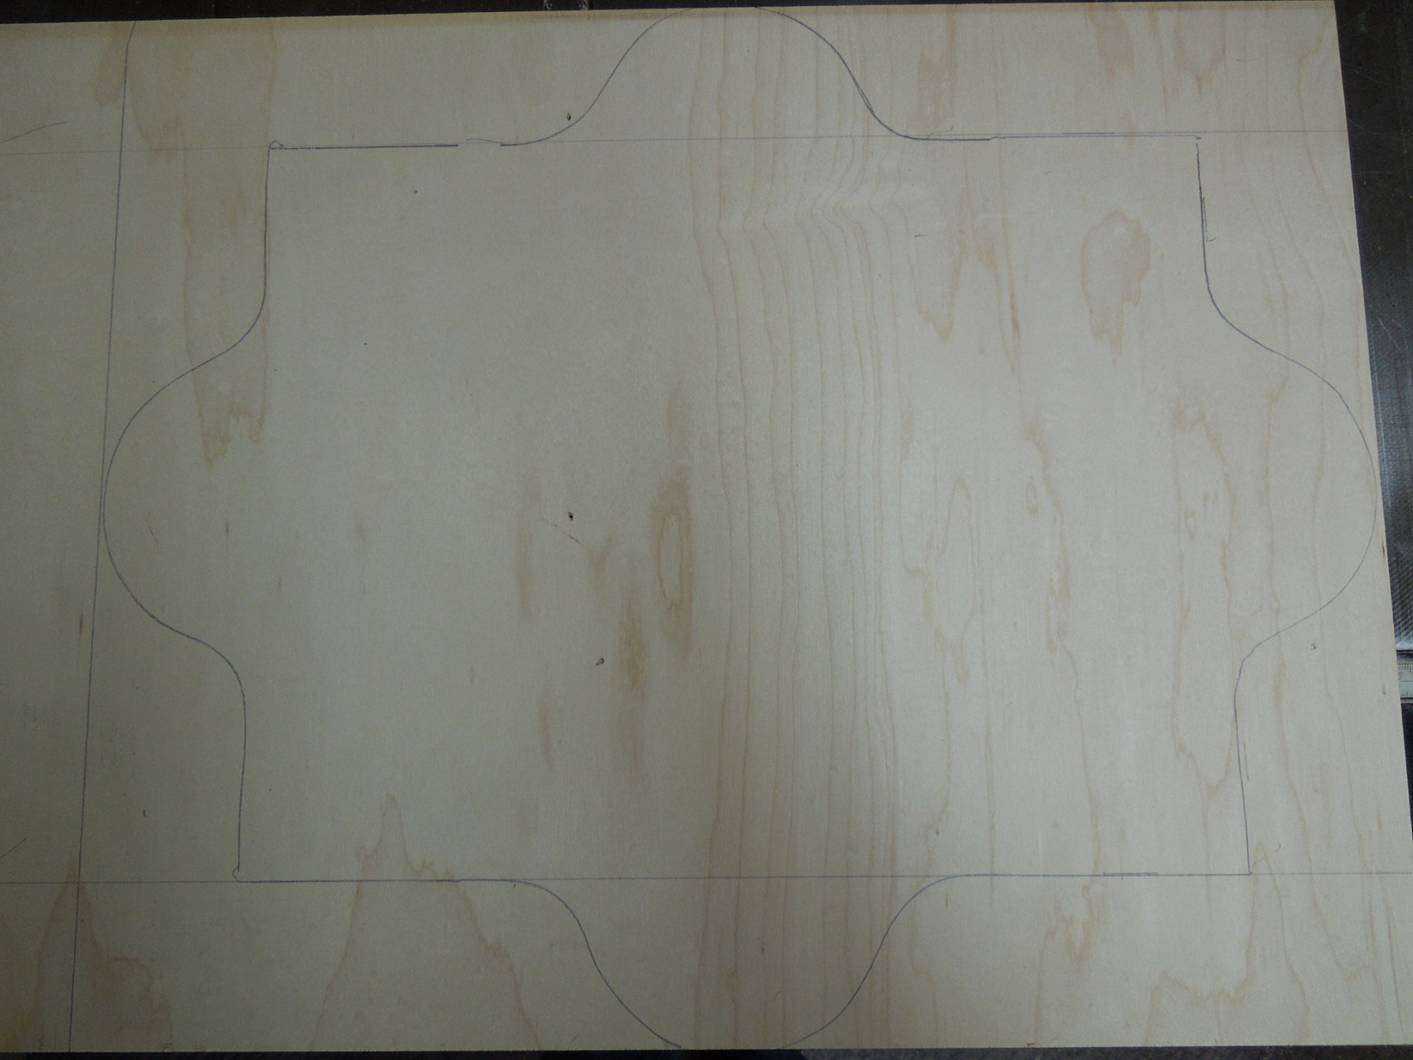
| Begin by measuring
the size of the absorbent paper you will be using to sandwich
the flowers. Then design a larger
rectangle or create the above shape using circles. This one will hold 10” x 12” paper. |
 |
| Draw the design directly on the plywood. Repeat for the bottom piece. |
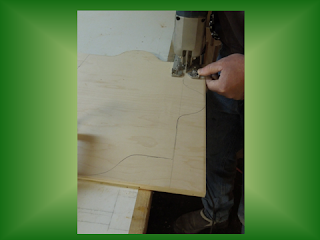 |
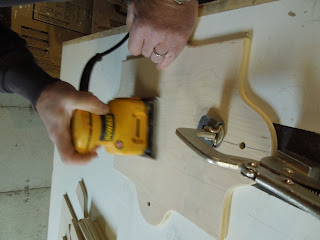
Cut along the lines using a jig saw if there are curves or
table saw if rectangular.
|
 |
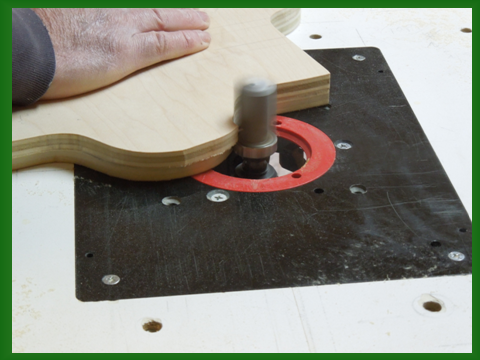
Use double sided tape to hold top and bottom together.
Use a router to ensure top and bottoms match.
|
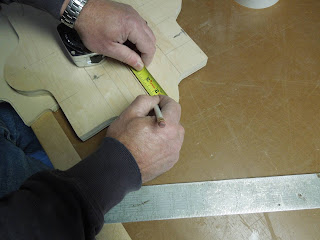 |
| Mark 2” in from the edge in the center of each side to drill. |
 |
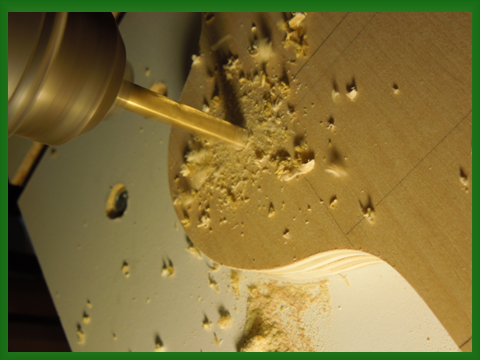
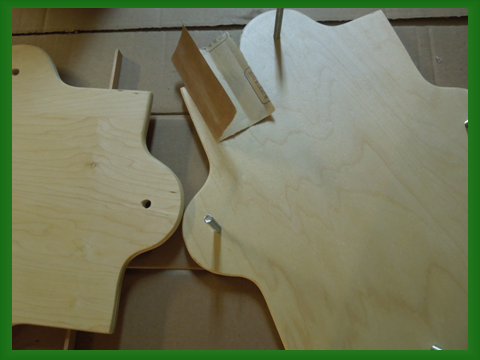
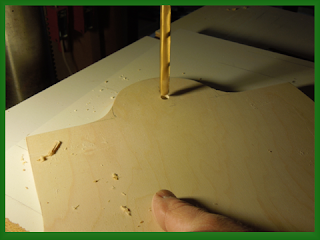
| Drill four holes the
size of the bolt you will be using, drilling through both top & bottom. |
 |
| Remove double sided
tape. |
 |
| Then re-drill the holes in the top slightly larger so that
is will slide easily over the bolt. | | | | |
 |
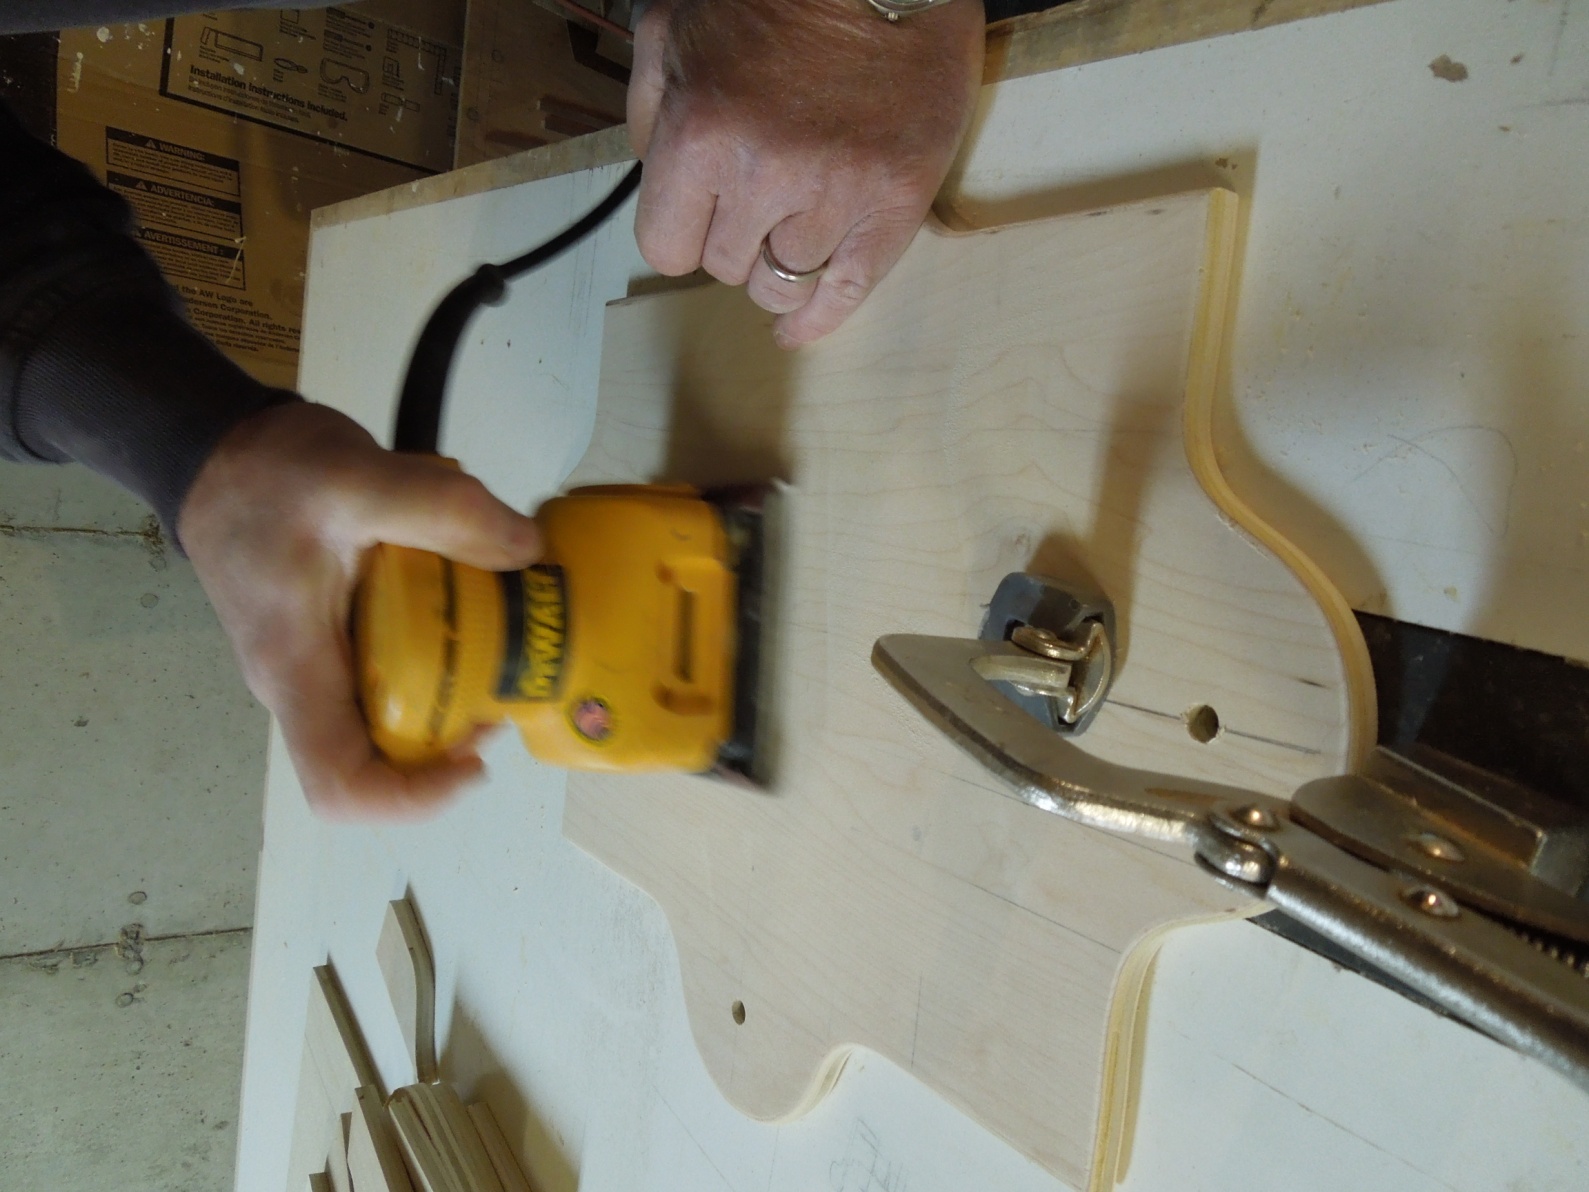
| Sand off all marks and smooth to 220 grit. |
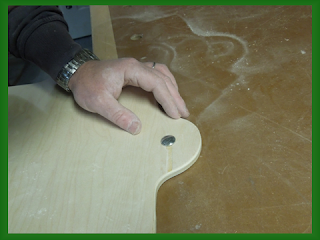 |
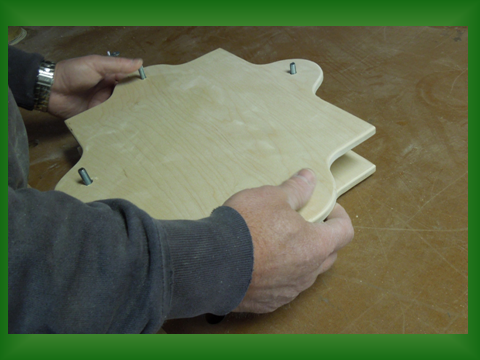
| Hammer bolts through the
bottom so that they point up. |
 |
| Test fit the top over the bolts. |
 |
| Finish. |
 |
| Sand and use a tack cloth between coats. |
 |
| Cut corrugated cardboard to the paper size and layer two
pieces of paper between each piece of cardboard. |
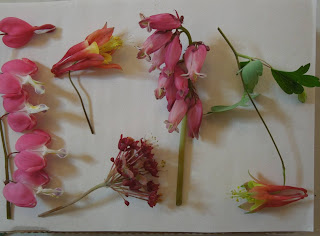 |
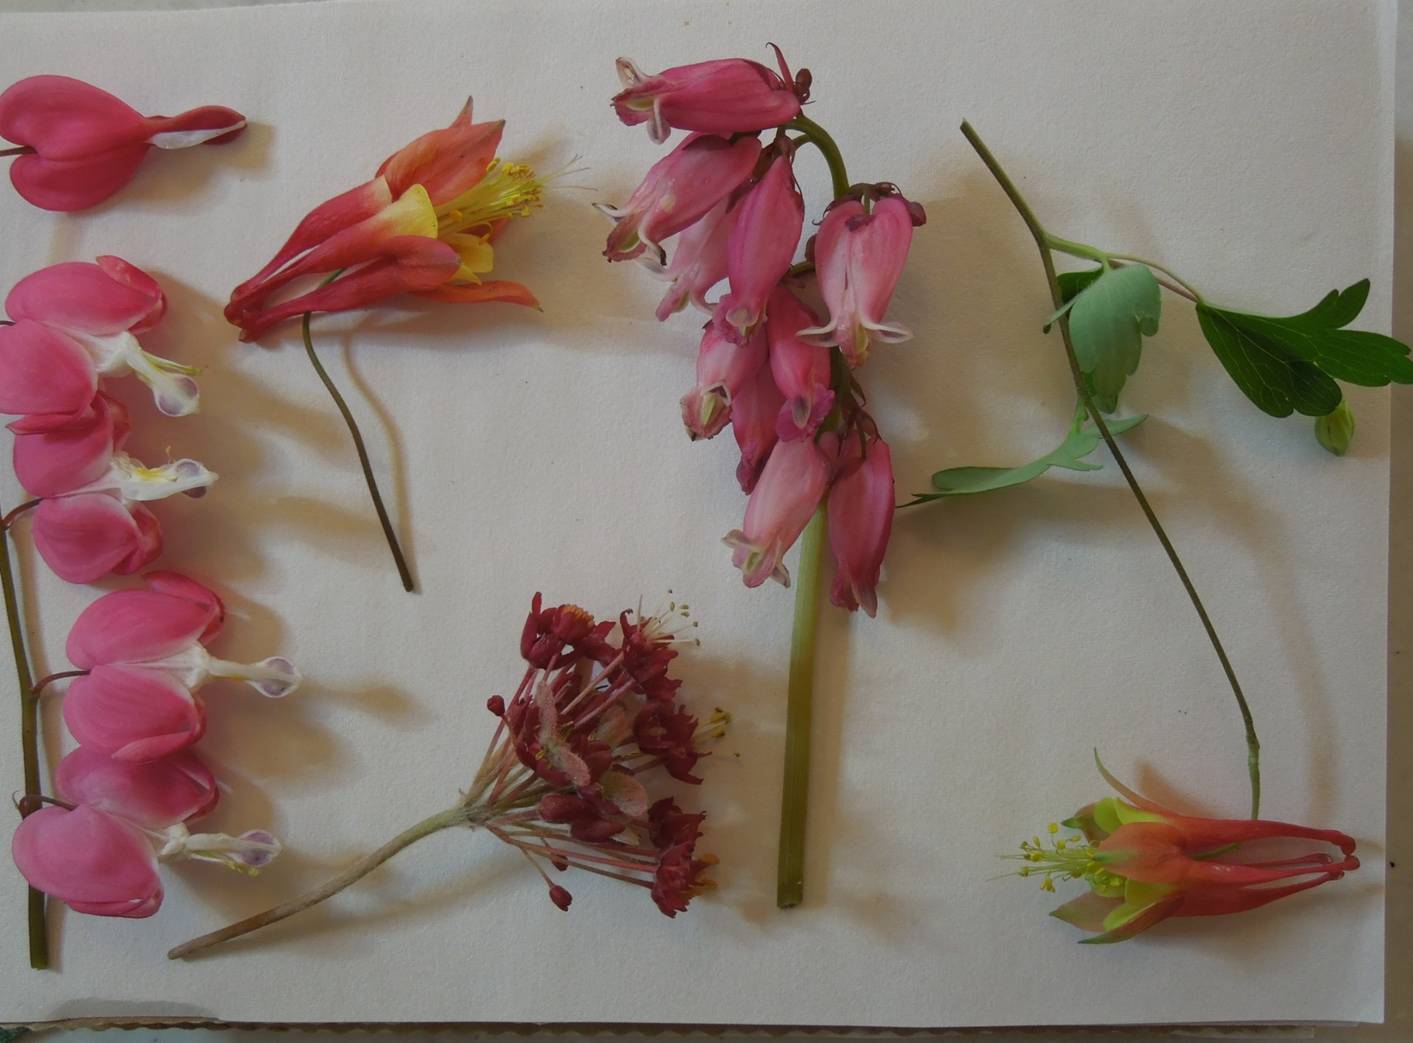
Fill the press with flowers; push down on the top; place the washers on the bolts; tighten the wing nuts; and
place the press in a dry area for a month. Tighten the wing nuts a few times during the first week of drying.
|


